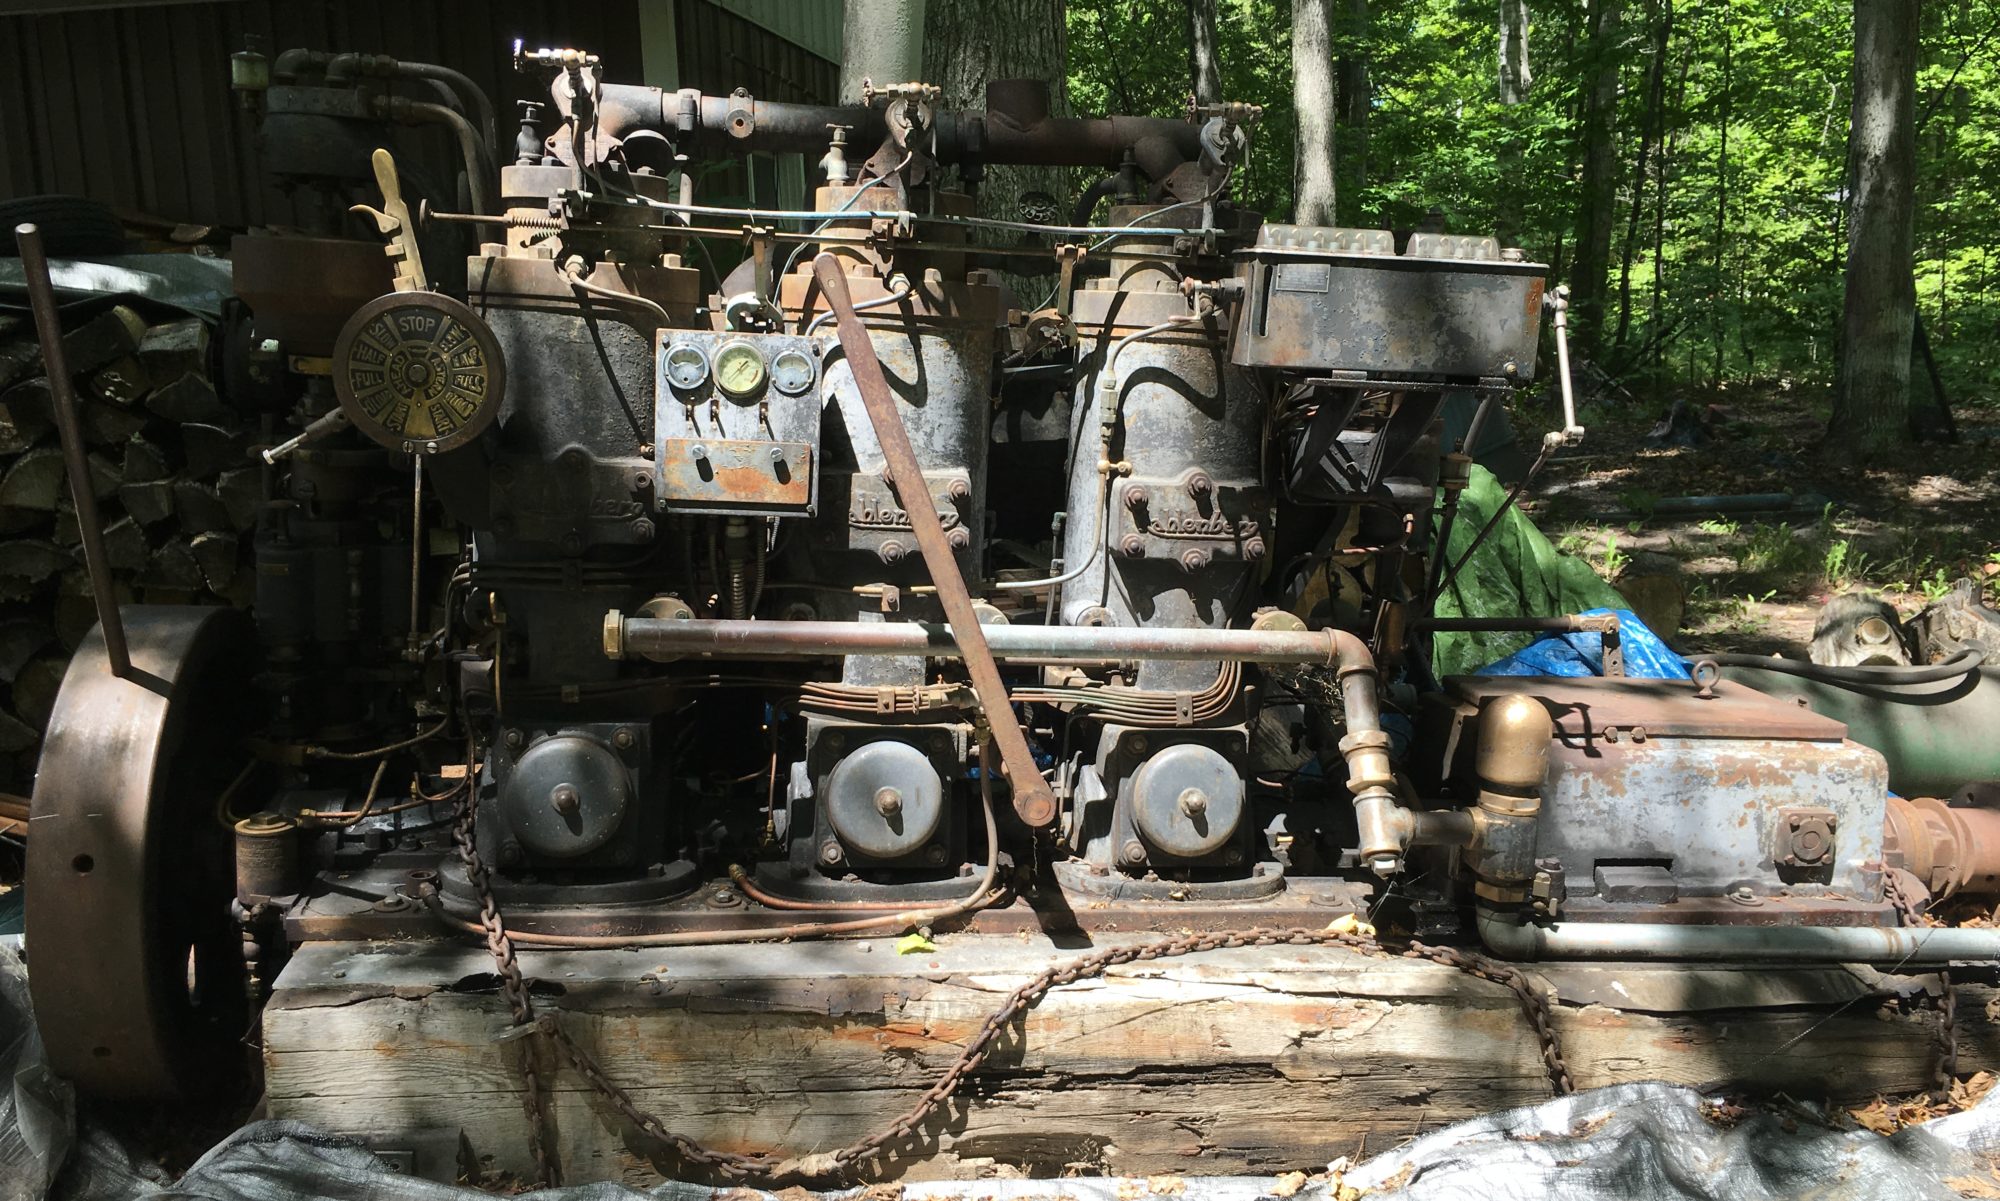
Taking a break to answer a question that comes up somewhat frequently: How did you get the engine here? It wasn’t easy. As it sits, the Kahlenberg weighs a little north of 7000 pounds. After the purchase was agreed to in October of 2016, I had no good idea how I was going to get it out of Larry’s yard where it had been sitting since 1985. The engine was on large timbers but those timbers were rotting along the ground. Hiring a rigger was the logical choice but obviously there would be significant cost. Plus I’d have to hire another rigger once I got it back home to get if off the trailer and into my shop.
I did a lot of google searches. Some guys had some clever ideas for moving things but every option seemed to have at least one large negative for my specific need. The idea came to me after a few weeks. Make the engine into a big Radio Flyer. I just needed to design it so the engine didn’t have to be lifted any higher than necessary. It also had to be somewhat maneuverable. Getting it out of the yard required a tight S-turn to avoid trees and line up with the driveway so it could be hauled onto a trailer.
I started with the List of Craig. I found a couple axel sets complete with rims and tires used for moving mobile homes. These have the benefit of being rated for 6000 pounds each plus are relatively cheap because they aren’t made for continuous use. The next stop was Discount Steel to get materials to make the frame. Most of the smaller parts came from Fleet Farm. I made angle brackets for the rear axel that would support the engine beams. The front needed to be steerable so, like the Radio Flyer, I made an axel with a single center pivot bolt that mounted to a large plate. The plate would mount to the bottom beams at the front of the motor via lag screws. The beam was polished and greased to make it steer easily. The original mobile home axels were cut. The wheels had to be able to mount individually from each of the four corners. Again, I didn’t want to get the engine too far up in air. Tie-down rings were welded onto each of the corners for steering and securing while trailering.


I loaded up the Radio Flyer components onto my trailer along with every tool I could possible think I’d need. It was a full truckload. We moved a lot of stuff that was in the way and raked out all the leaves and debris. Then the jacking process began. The ground was soft. I tried to be very careful but this is one thing I would have done differently. I let myself get too rushed and didn’t secure the base of the jacks as well as should have been done. That led to the damage that was outlined in a prior post. But eventually I got the motor up high enough to mount the Radio Flyer. That part of the job went very well. The design worked!


Next we used a pickup to snake the Kahlenberg out of its 30+ year home. The unit steered easily and we got it lined up with the trailer without an issue. The next job was to winch it on. I didn’t have a better way to get it on the trailer other than using come-alongs. It took a while and a bit of sweat but it worked.


The tow home was uneventful. It didn’t move a bit. Getting it into the shop required a reversal of the process (that’s another story). The Radio Flyer served its purpose very well and it cost me less than $400. It was used a second time to load up for a trip to the machine shop and then to the new shop after our move. The parts are stored now and could be used again if needed.


