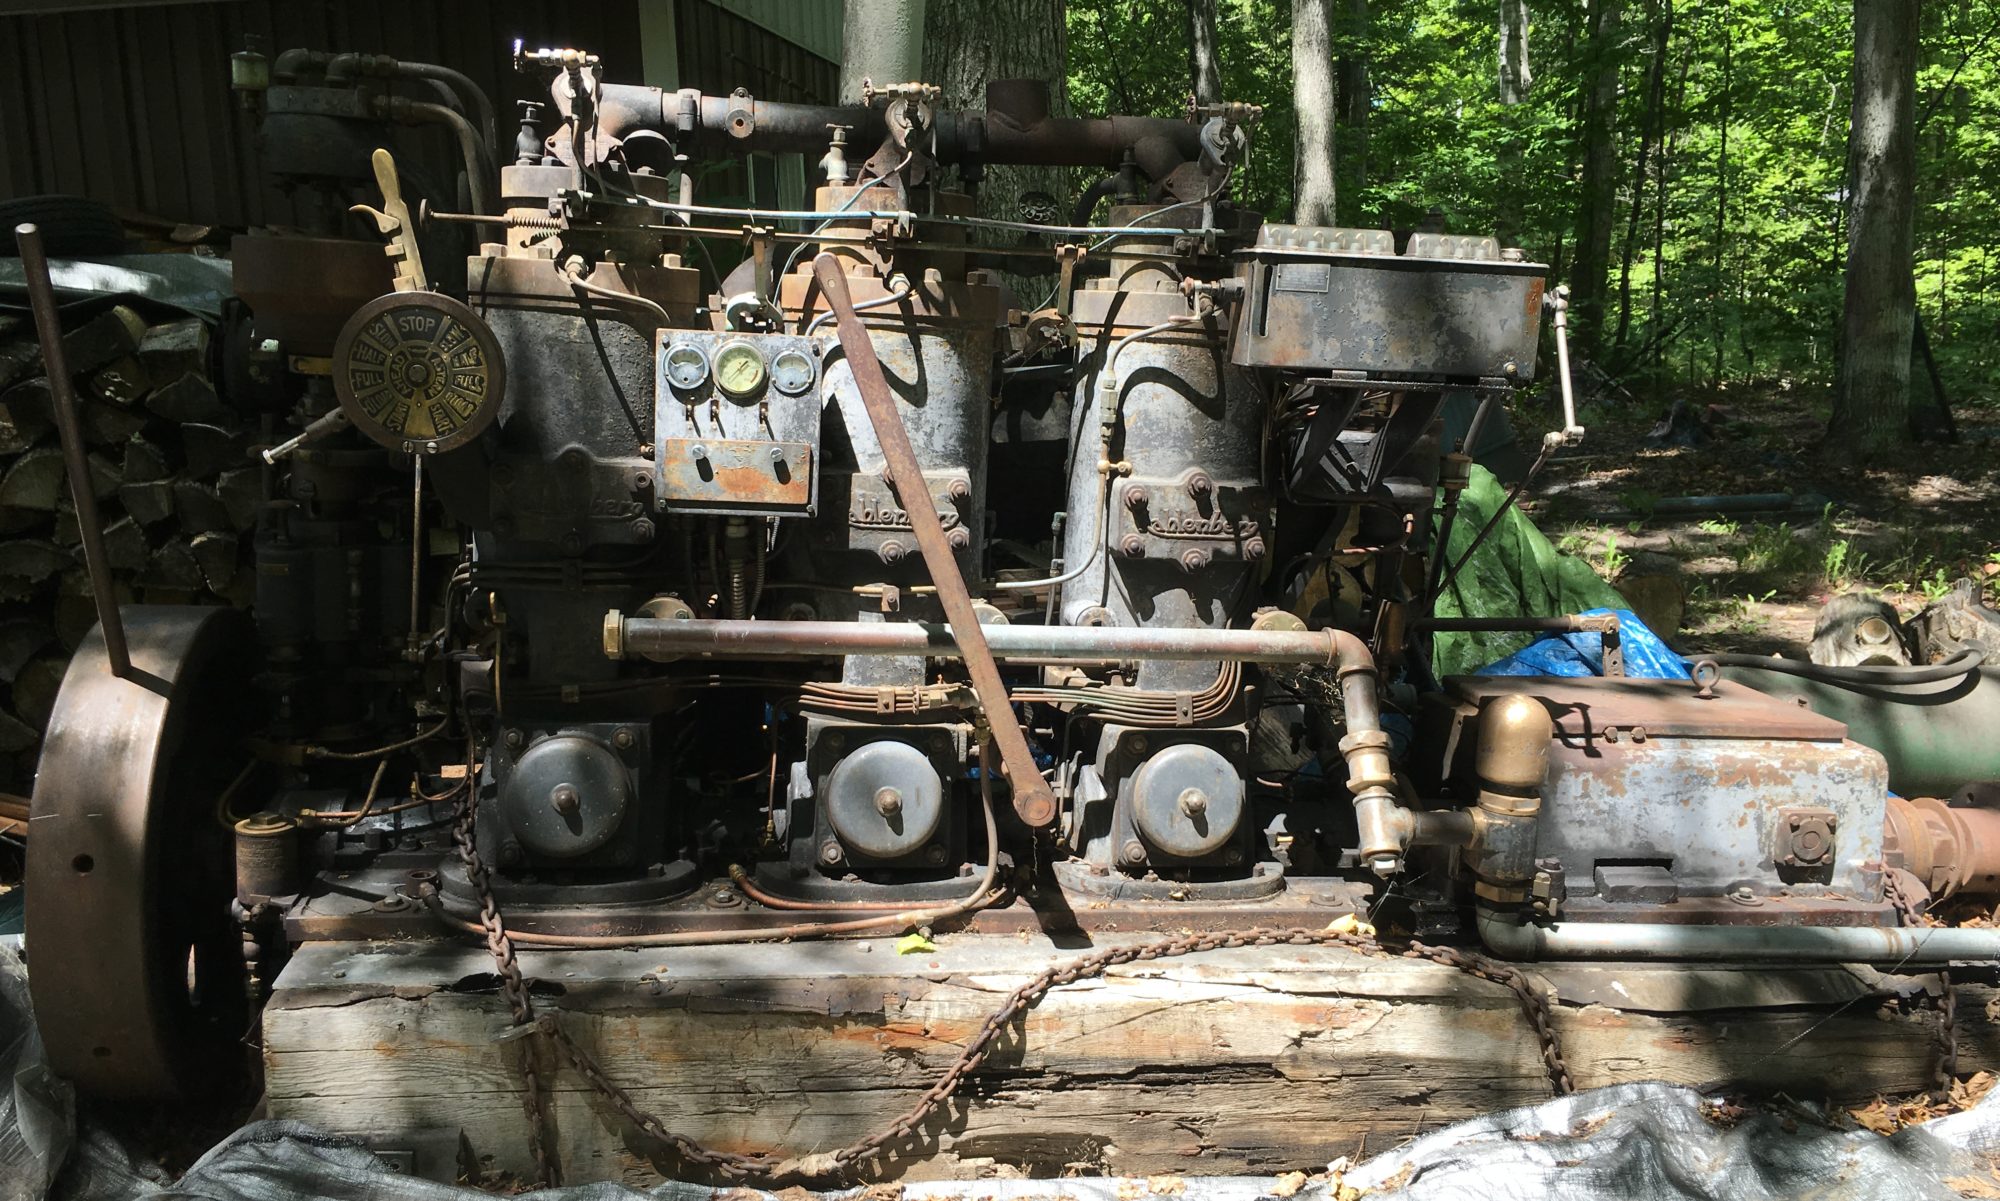
The last major task remaining before reassembly begins is addressing the main and rod bearings. An earlier post includes pictures of the #5 main bearing, the tail bearing on the output shaft, which is in bad shape. The four main crankshaft bearings are in decent to very good condition. I reinstalled the bearing shells and placed the crankshaft back in the main block. I then torqued the caps and used Plastigauge to measure the bearing clearances. Surprisingly, all the clearances are between .003 and .008, which on a 3.5″ shaft is not bad for a machine of this vintage.


I’m very fortunate to have a well known babbitt specialist just 15 minutes from my house. George owns Harkin Arcola Babbitt Repair. He has been to my shop a few times to size up the bearing situation. We decided to not re-pour the main bearings other than the damaged #5 shells. This is fortunate because this is the shortest bearing. The others are up to 11″ long. George is going to attempt to make minor repairs to a few of the shells that have small cracks.
However the rod bearings have much more serious cracks in the babbitt so these will be re-poured. I am working on building a jig to hold the bearings during the babbitt pouring process. More on this in a following post.
One big item that has been gnawing on me for some time is the #1 bearing cap. This is the cap that was cracked and repairs by another shop only made matters worse. I discussed this in the prior post. After a lot of discussion, George and I decided to leave the cap as-is. I am not able to maintain perfect and repeatable alignment but we decided on a method that should get the cap located close to where it should be and within reasonable tolerances. Worst case, if it doesn’t work, the cap is easily accessible after the engine is reassembled and other attempts at repairs can be made. The only thing I have to do is make cap bolts. Two of the existing bolts are stretched and bent. I bought some 1″ hex rod and will be working on these in the lathe this week.

