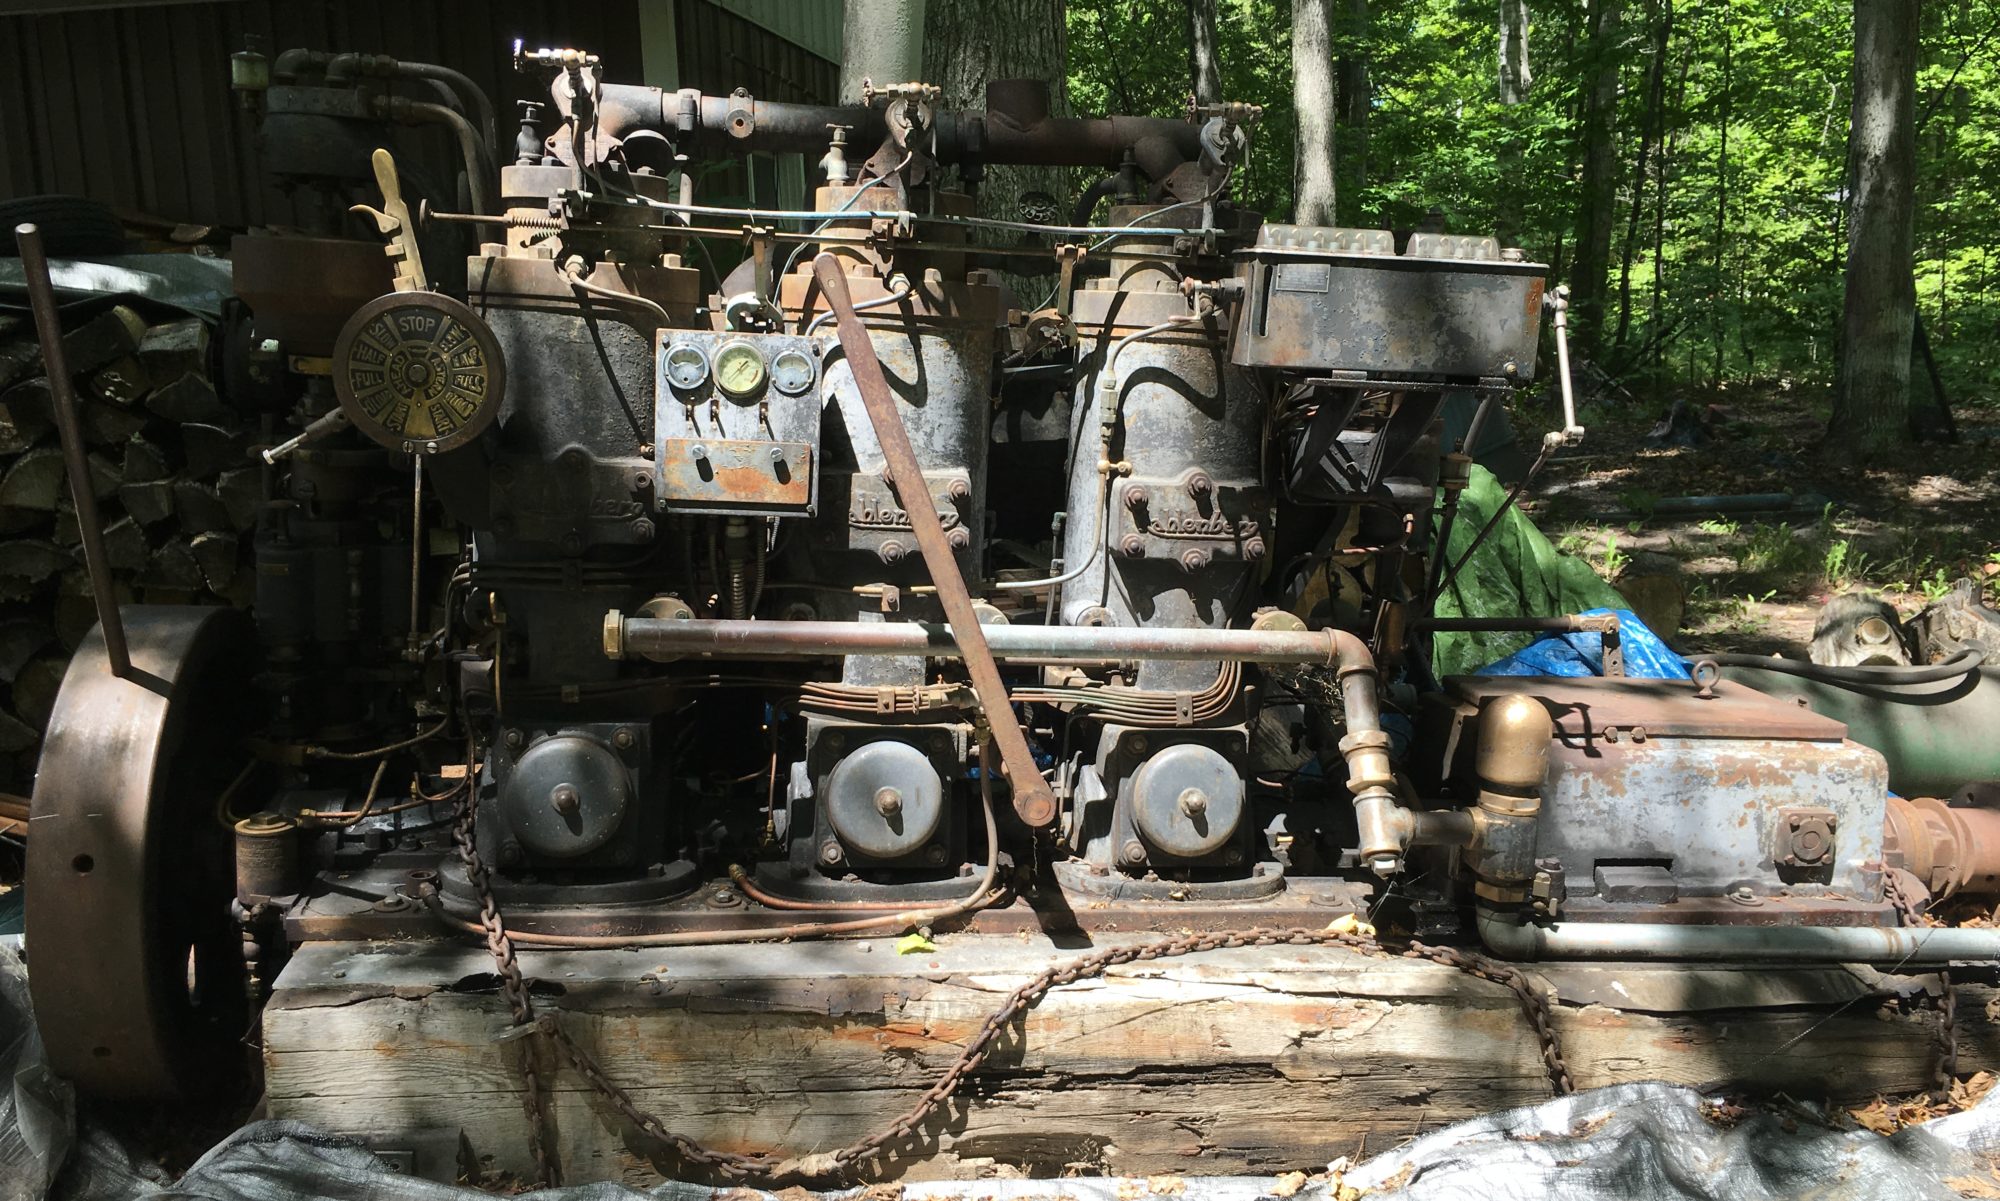
We finally carved out the time to start pouring at George’s shop in Stillwater. Wisely, he does this in a small outbuilding far removed from his house and shop. We test-fit the first bearing cap and figured out how to clamp and seal it against the pouring fixture. It took a couple caps to get the process nailed down.


First step was to remove the old babbitt by pre-heating the cap and then using a rosebud tip to carefully bring the bronze (cast iron in the case of the #5 bearing) shell up to temperature. The old babbitt was recovered in a muffin tin. George then cleaned and tinned the shell.

After that, we clamped the shell in the pouring jig, sealed the joints as best we could and slowly poured in the fresh babbitt.


After a few minutes we removed the shell from the jig. We were very pleased with the results. We got five shells done the first day (and ran out of babbitt material) with five more to go to complete the main bearings. There will also be the three rod bearings (six more pours).


I’ll get these cleaned up and installed in the engine block for cutting.

