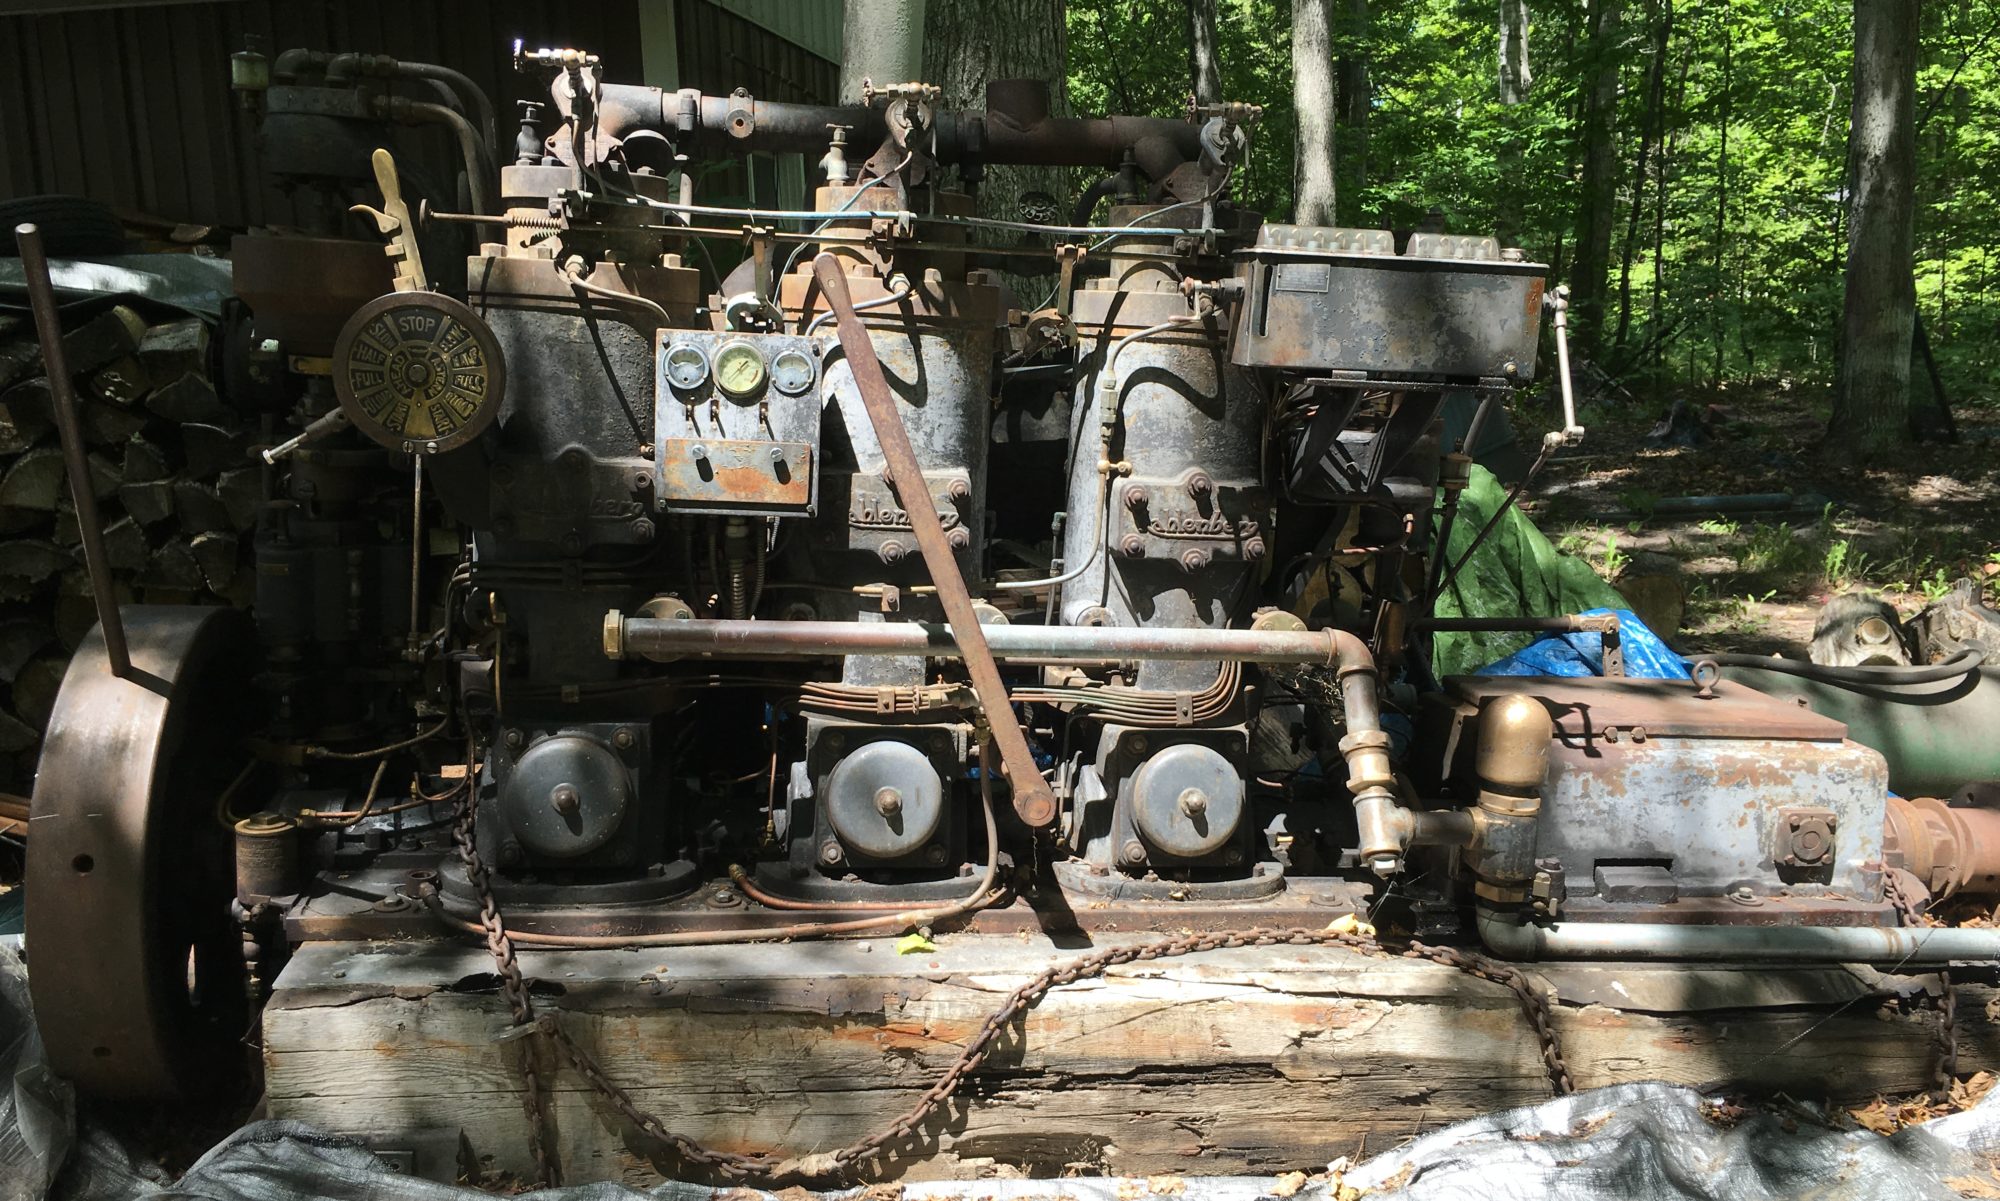
Other than one hiccup dealing with the joint in the 2-piece boring bar, the rest of the bearings went as the first. I’m quite satisfied with the results.


Next step is to lap the bearings using TimeSaver compound. I needed a way to turn the crankshaft with the lapping compound. The crankshaft turned fairly easy with a short pry bar but this would take forever at 1/3 of a rotation at a time. One idea was to use a tractor PTO for power. For that to work, I needed a way to connect the crankshaft to the tractor. I decided to make an adapter using the keyed shaft on the flywheel end of the crankshaft.

I picked up some steel from CoreMark metals. The tube is a 3-3/4″ sleeve that goes over the crankshaft stub end. It was too tight so needed to remove some material with a boring bar on the lathe. I had to machine a key on the mill for the shaft keyway, drill for temporary bolting, fit the key and then weld. I picked up a PTO stub shaft from Fleet Farm, machined a hole in the round end plate and welded in place. I used angle to make an attachment point to hold the fixture on the shaft. Don’t judge my welding but it otherwise came out nice.


I mixed the TimeSaver with oil, coated the bearings and installed the caps. Time to see if the little Kubota could spin the shaft.

Video here.
The process worked very well. A little too well, actually. I started with too aggressive of a grit and took a little more material than I intended but the tolerances are still good. Despite being about 600 pounds and all the bearing surface area, the crankshaft can now be spun by hand. It spins just as easy with the caps on and torqued.
Video here.
Next step is to cut the oil groves. I have a few ideas but still not sure how I’m going to do this. Once the bearings are done, I can start reassembly!

