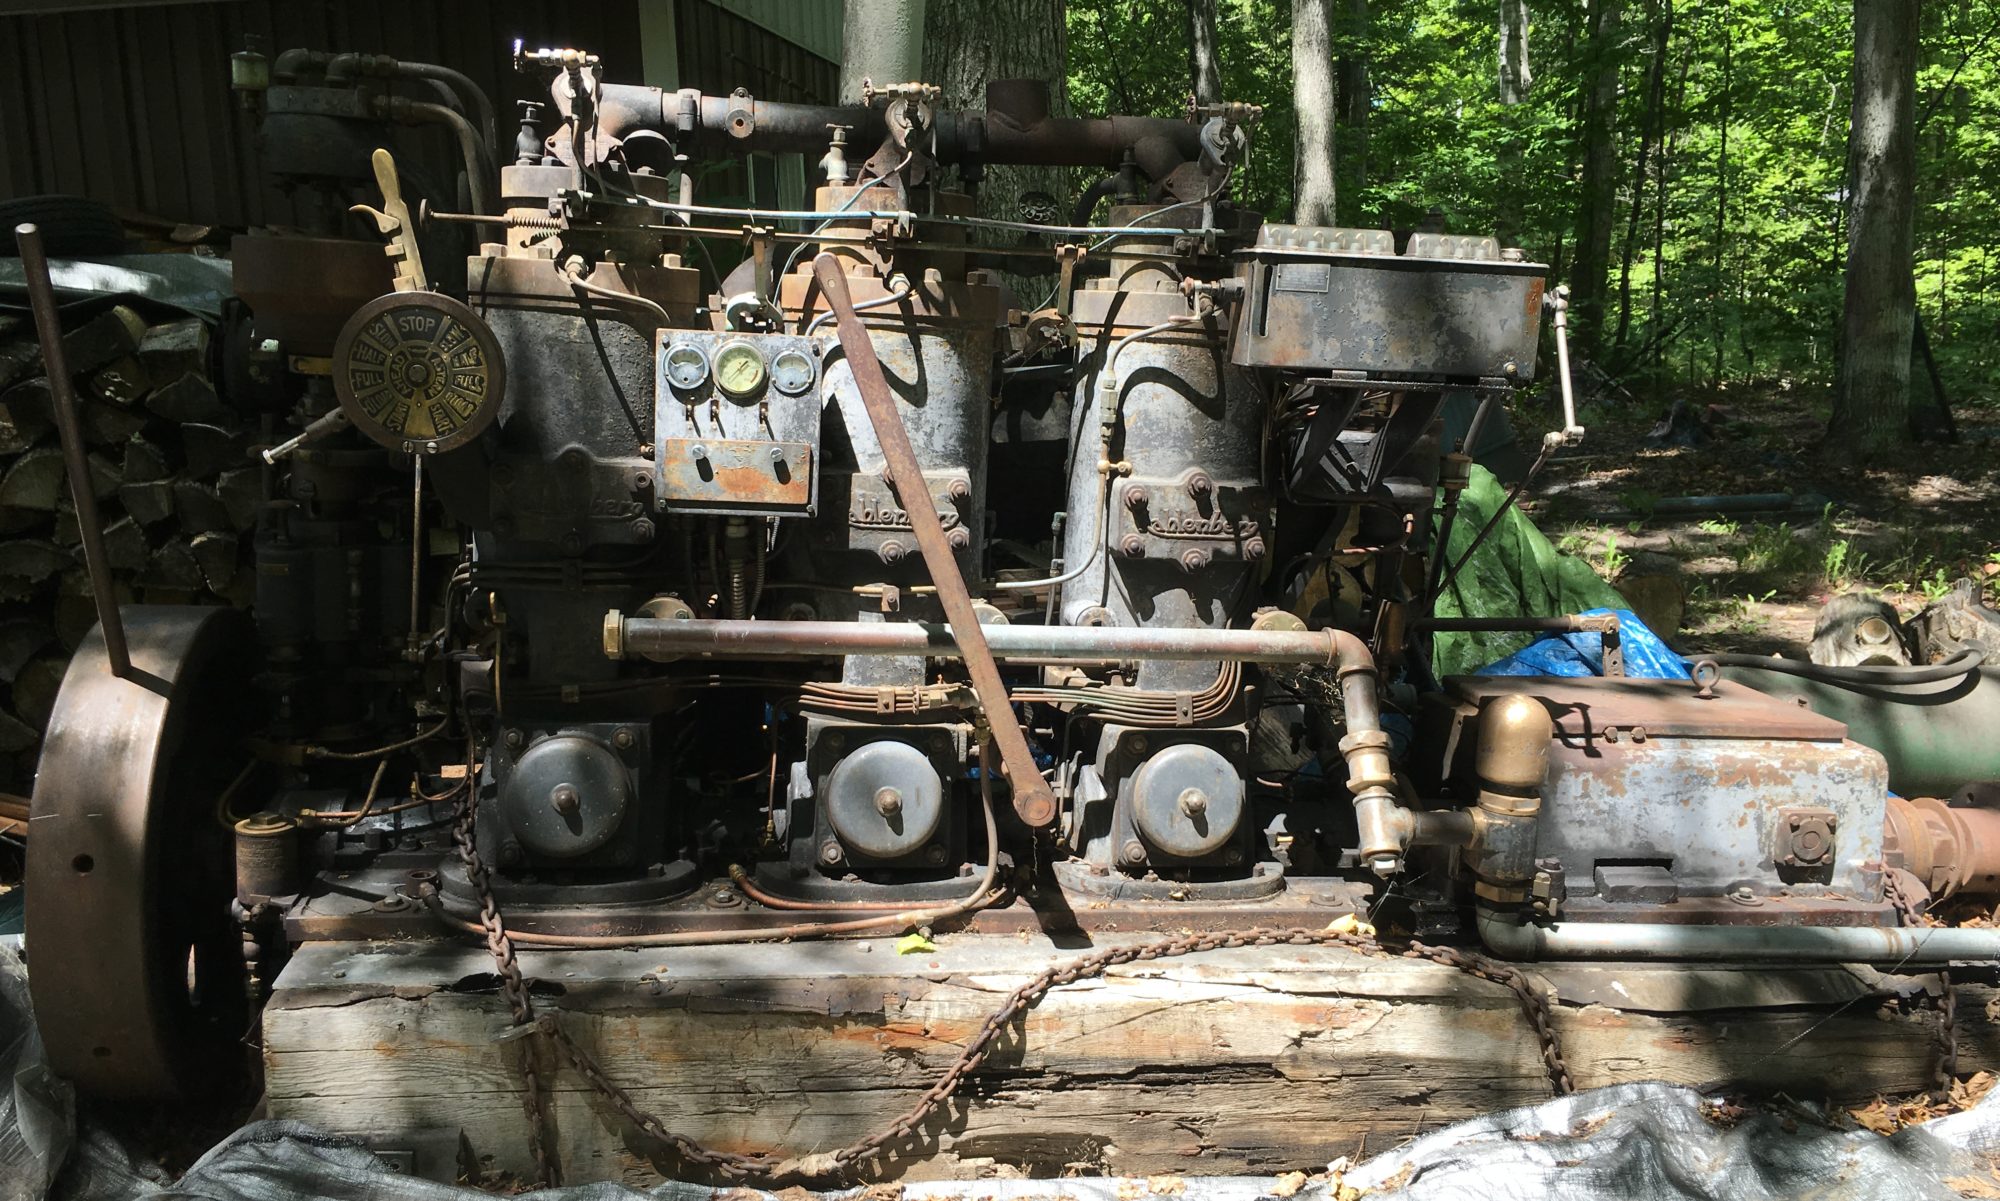
The last step before starting reassembly was to finish making the oil groves in the main bearings. I did a lot of research on this topic without gaining a good solution. For the oil channels, I used a Dremel with a small round engraving bit. These were done freehand as I could not come up with a good way otherwise. It appears these were done freehand at the factory but by a much more talented and experienced person. They aren’t pretty but they will be functional.
For the relief cuts along the bearing parting line, I took a different approach. Basically, I made a small line bore with my lathe. It took a couple tries but I made a fixture to hold the bearing that was rigid and repeatable. I used a piece of 4130 tubing to make a boring shaft and let the lathe do the work. These cuts came out very nice.


Completing these bearings was a moral victory. They have seemingly taken forever (over a year and a half) but now they are done. I learned a lot about babbitt and bearings in general. But the reward for this was the kicking off reassembly of the Kahlenberg!
I spent a lot of time over the past few years thinking about how create a good platform to run the engine. My long term goal is to have it in some kind of an enclosed display trailer. Although I believe the engine will run, I hesitate to invest in an expensive trailer before knowing the true final condition of the motor. I have two leading ideas. The first is using steel to encase the existing wood crib and run the engine on the ground. This might be the simplest and least expensive. The other idea is to mount the engine at least temporarily on a flatbed trailer. I purchased a good used trailer for this purpose which can be modified to support the engine without high cost. I’m inclined to go the latter route but not sure just yet.
If I do mount the engine to a trailer, one thing that needed to be done was to turn the engine around so it could be more easily placed properly.

Step 1: Install the crankshaft. The crankshaft has been in and out 4-5 times recently but more work was needed to put it in for the final time. The engine is two stoke with each cylinder having its own crankcase. Intake air is drawn through the crankcase and forced into the cylinder by the downward force of the piston. The crankshaft seals on each end of the cylinder crankcase uses a bronze collar with a ring of heaving leather held tightly against the side of the crankcase with four springs each. I’m thinking the factory had made nice tools to hold all these seals in place for installing the crankshaft but I got by using quick clamps.


Next up were the cylinder bases.

And then the cylinders.

Next were the oilers and the air compressor. This was kind of a big deal for me because the compressor was the first item I took off the motor almost seven years ago.

I then tackled installing the 26 oil and fuel lines. This went better than I thought it might. There are more lines to be installed later.

As of today, the oil lines are in, the compressor is fully assembled, the water pumps are installed and I’ve started working on the governor tower. More on this next time.

